> ## Documentation Index
> Fetch the complete documentation index at: https://www.renderjuice.com/docs/llms.txt
> Use this file to discover all available pages before exploring further.

# Quickstart

> Upload your Blender file, watch it validate, and get your first cloud render back in under five minutes with Renderjuice.

Using Renderjuice is pretty intuitive. At a high level, there are a few main phases:

1. Uploading
2. Validating
3. Rendering
4. Completed

<Info>
  There are a few other sub-phases, but we've left them out here for clarity. These include Booting, Finalizing, and possible Error statuses.
</Info>

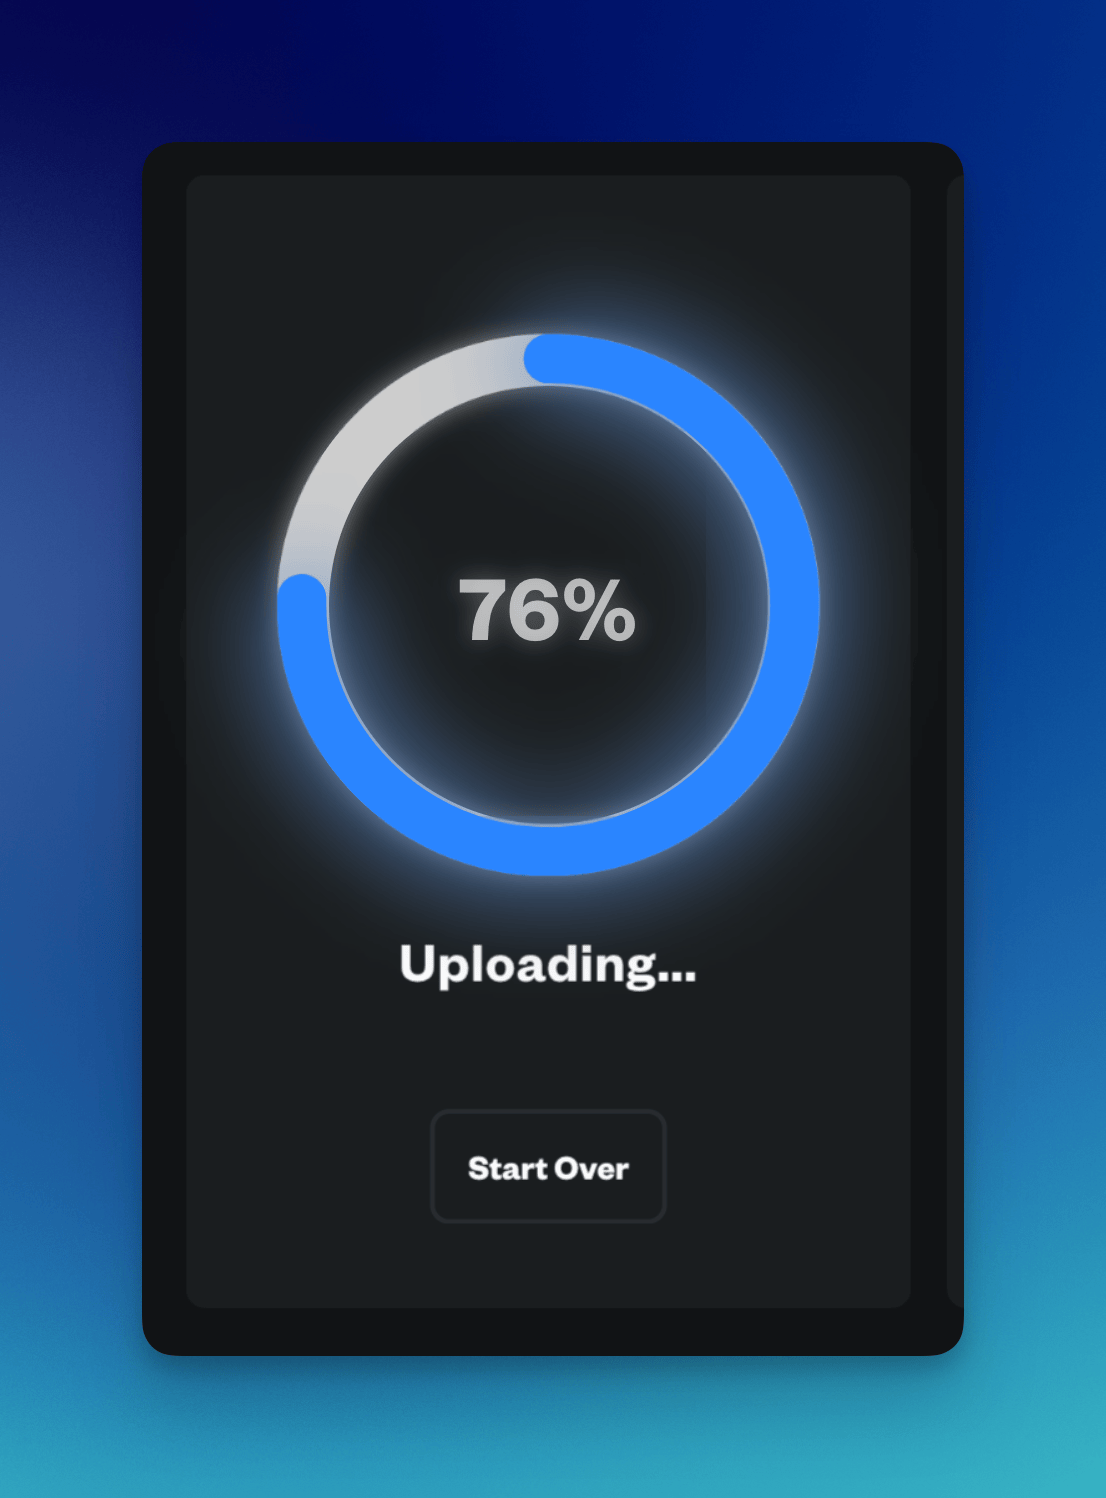
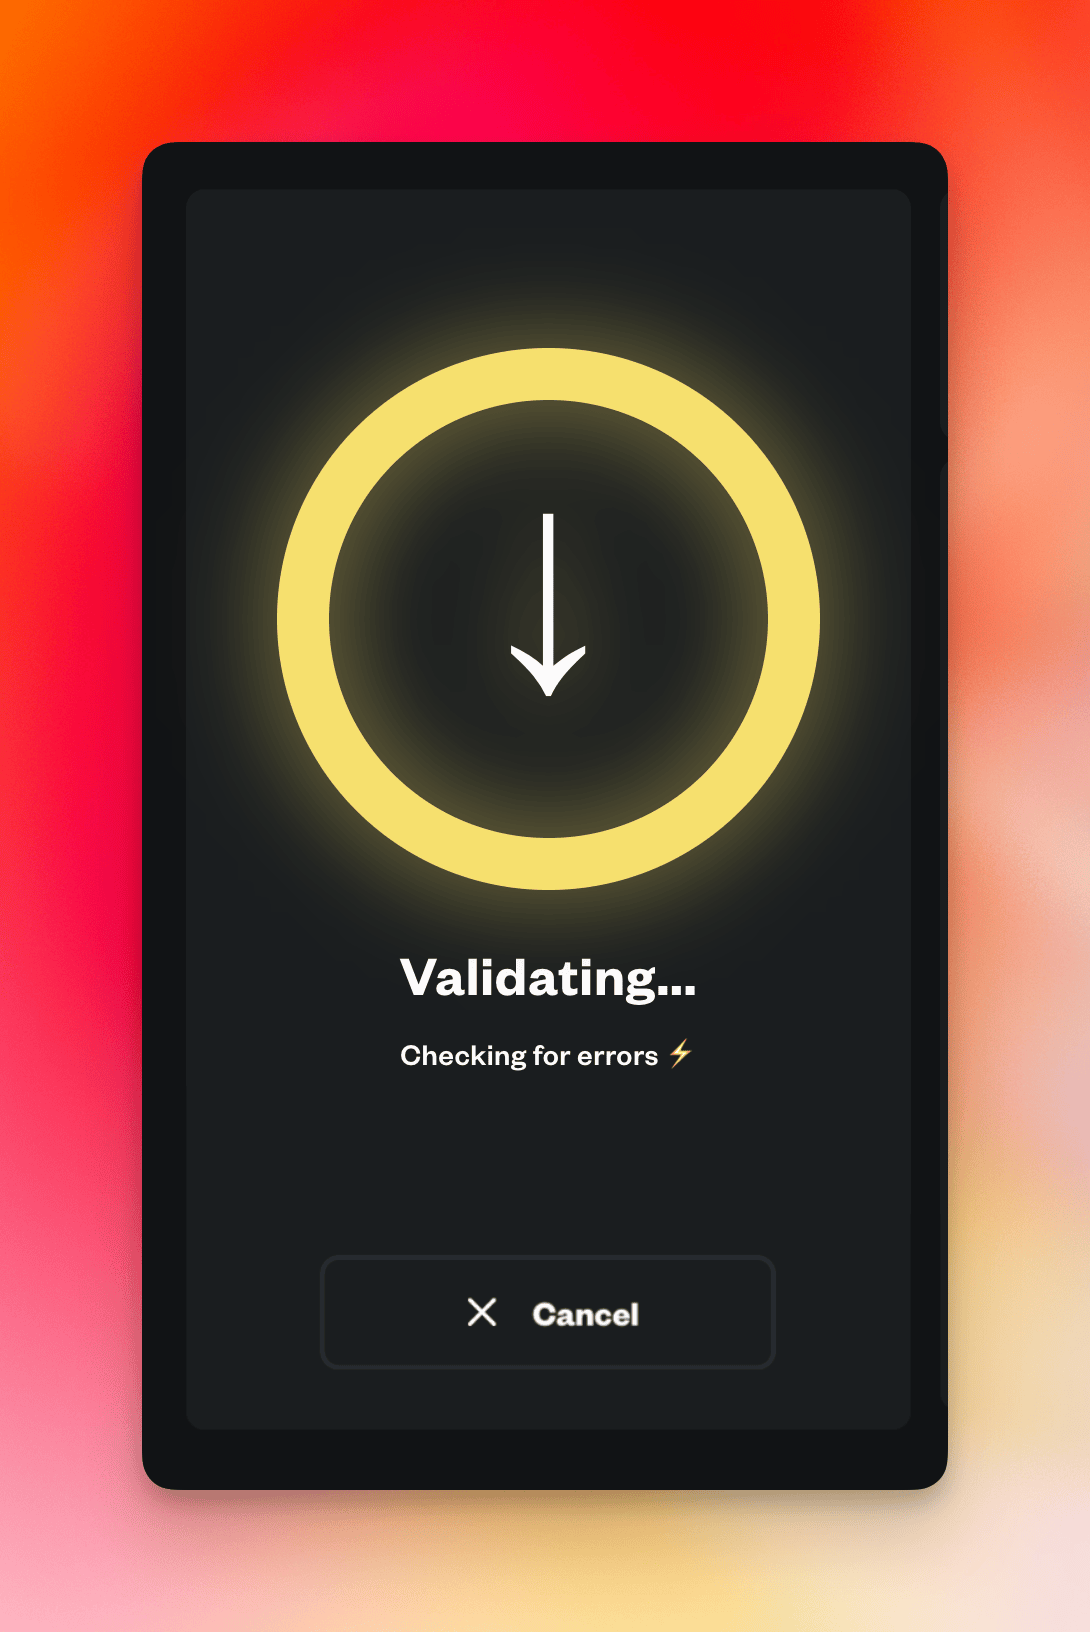
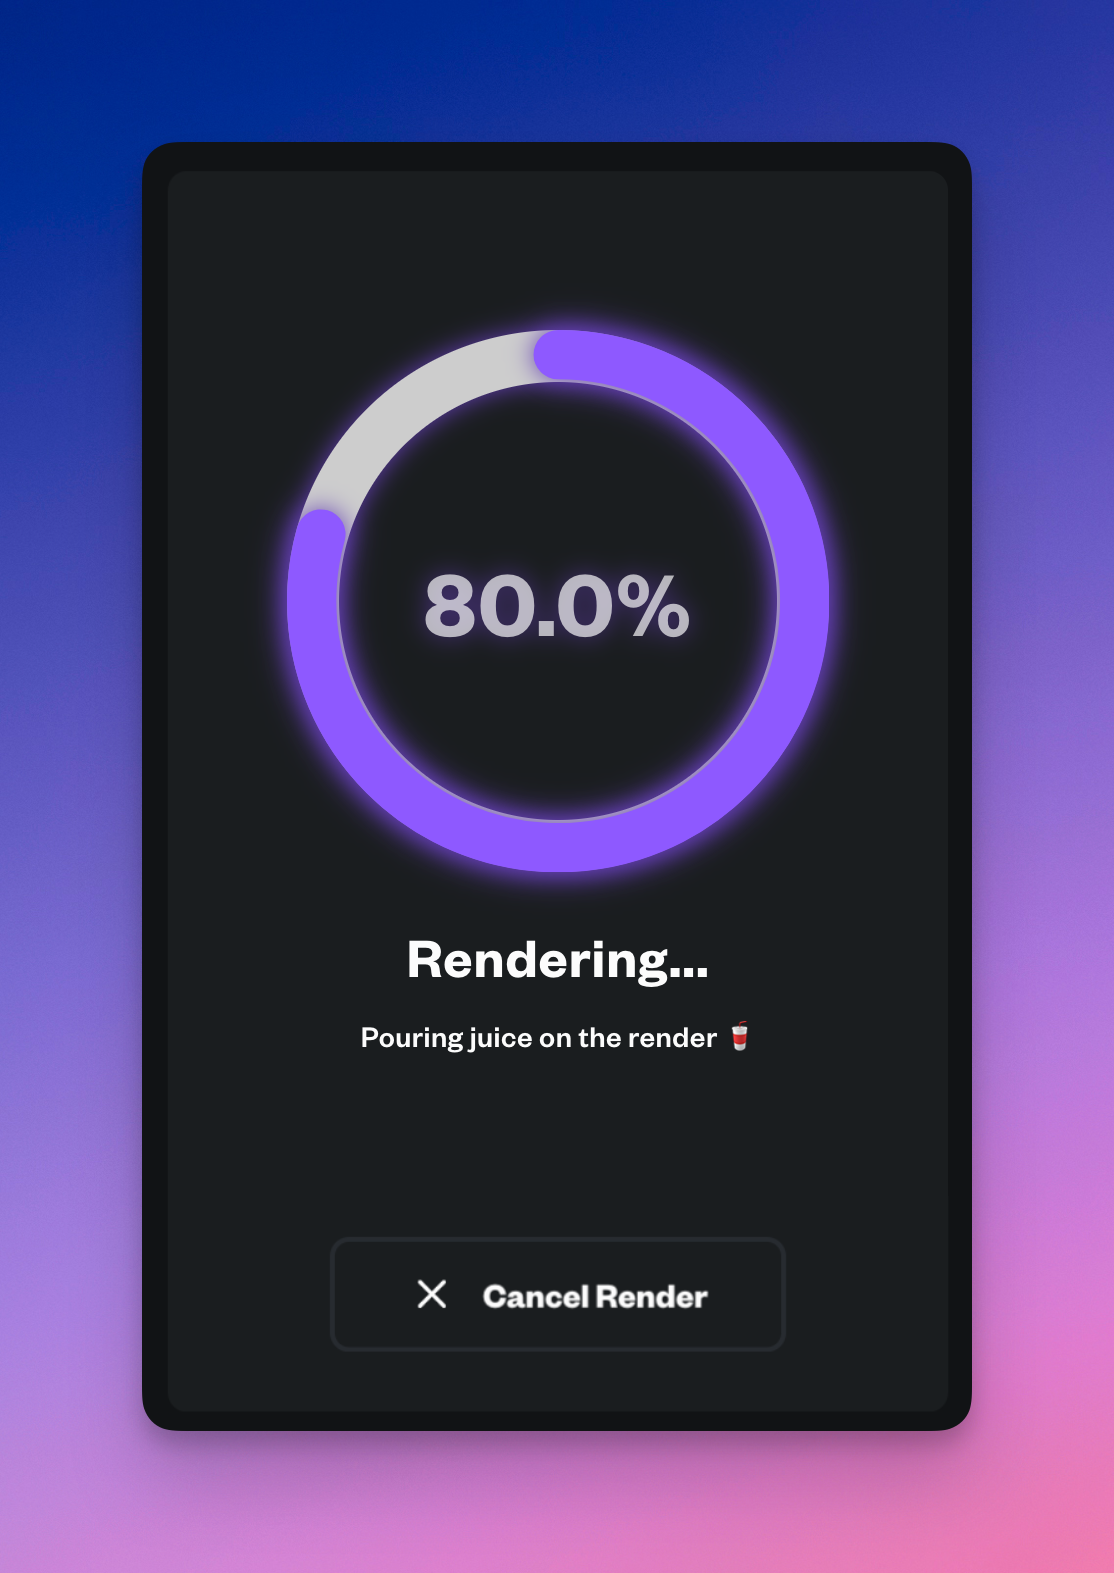
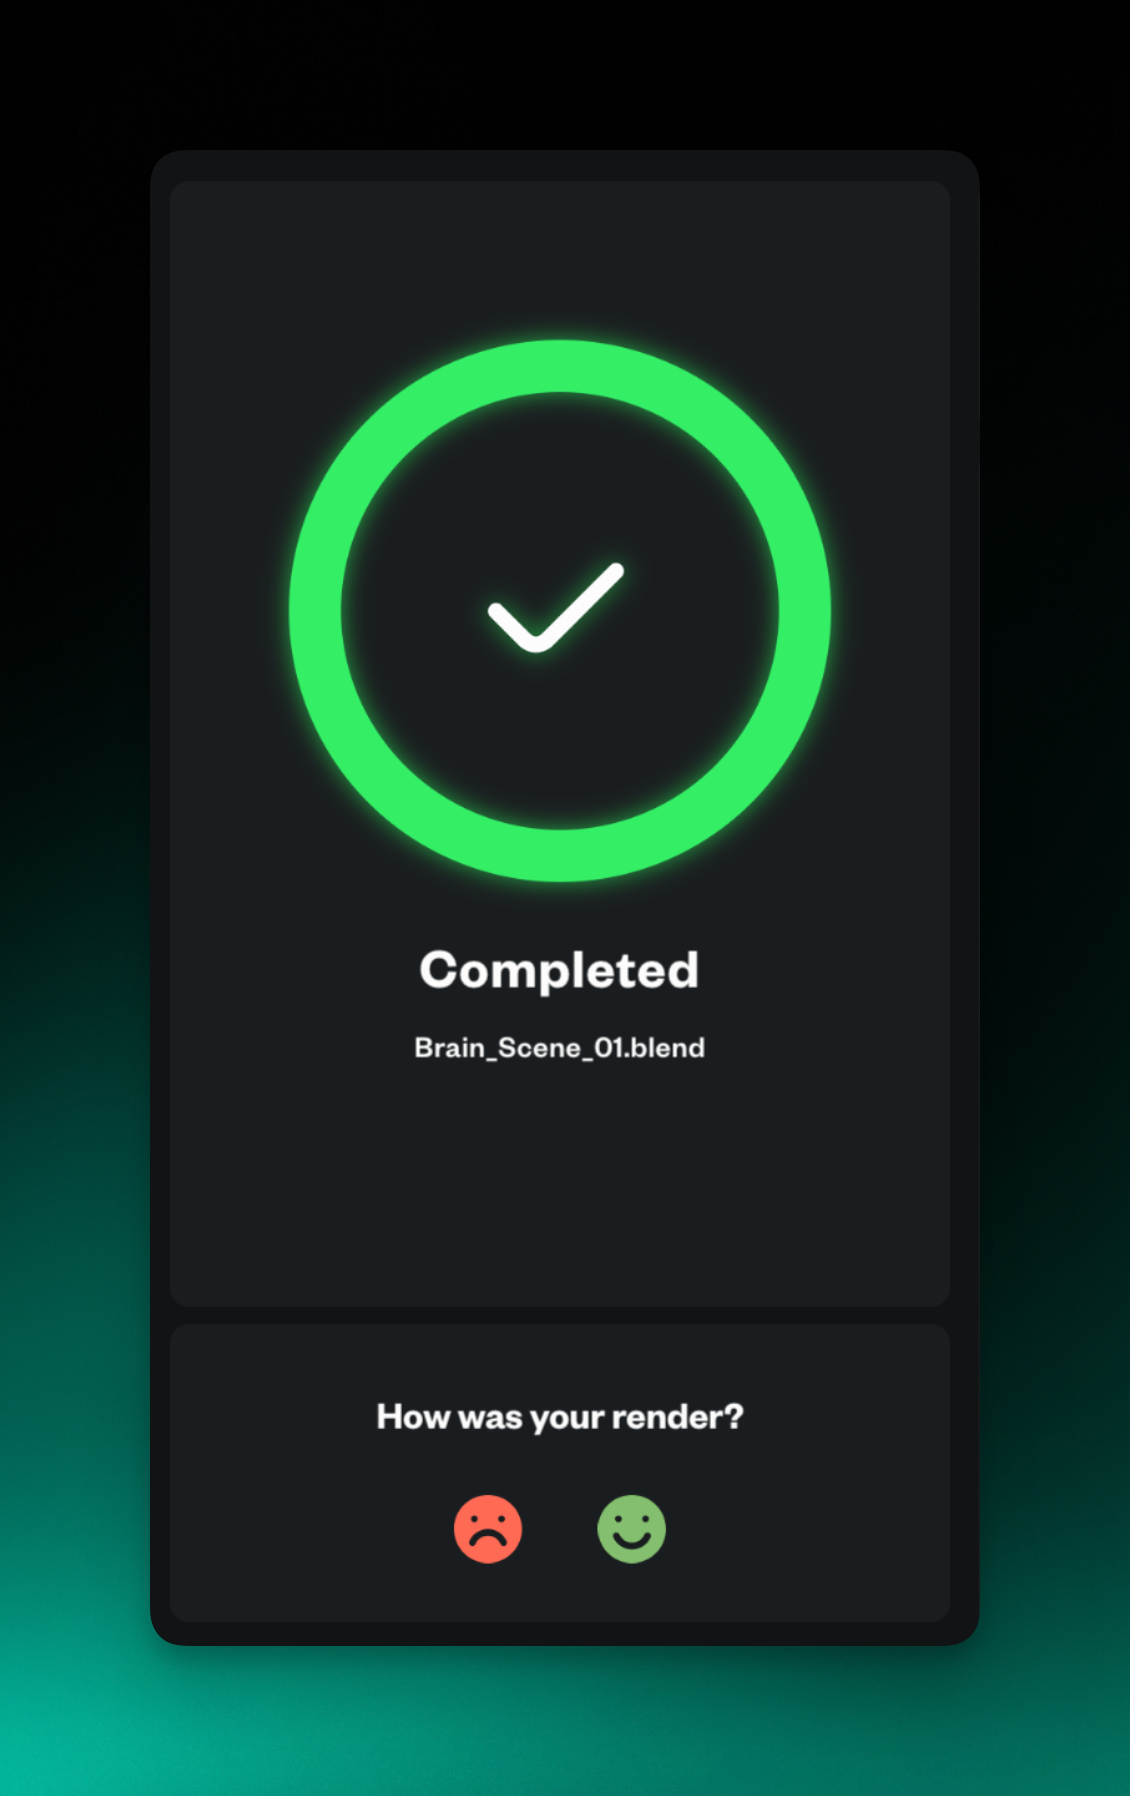
At each phase, our magical render wheel will let you know where you are in the process.

<Tabs>
  <Tab title="1. Uploading">
    <p>
      **Your render is being uploaded to our servers.** This is a one-time step.
    </p>

    <Frame>
      <img width="300px" src="https://mintcdn.com/renderjuice/LAVdNoNpZYyOHLg8/images/wheel/uploading.png?fit=max&auto=format&n=LAVdNoNpZYyOHLg8&q=85&s=864e1d5b171c7fa0c2ded6a35f1932b6" data-path="images/wheel/uploading.png" />
    </Frame>
  </Tab>

  <Tab title="2. Validating">
    <p>
      **Your render is being validated.** Here we're checking conditions and analyzing your files to ensure they have the best and fastest render possible. We'll let you know if we think something might be missing, such as a texture, or a link, etc.
    </p>

    <Frame>
      <img width="300px" src="https://mintcdn.com/renderjuice/a44PFKbyg5_KYyOh/images/wheel/validating.png?fit=max&auto=format&n=a44PFKbyg5_KYyOh&q=85&s=622a3650c3558b9b64ad701da43a7268" data-path="images/wheel/validating.png" />
    </Frame>
  </Tab>

  <Tab title="3. Rendering">
    <p>
      **Your file is being rendering at warp speeds 🌌**
      We're off to the races! This is where you relax and let Renderjuice do its thing or you can download them as they finish live.
    </p>

    <Frame>
      <img width="300px" src="https://mintcdn.com/renderjuice/LAVdNoNpZYyOHLg8/images/wheel/rendering.png?fit=max&auto=format&n=LAVdNoNpZYyOHLg8&q=85&s=ccf1bea0c734a4dbe3718aec0f848f24" data-path="images/wheel/rendering.png" />
    </Frame>
  </Tab>

  <Tab title="4. Completed">
    <p>
      **Your render is complete!** You can download your frames all at once including any extra outputs.
      Drop us feedback by hitting the smiley faces, they help us out and we'll probably reach out ASAP in the case of any issues.
    </p>

    <Frame>
      <img width="300px" src="https://mintcdn.com/renderjuice/LAVdNoNpZYyOHLg8/images/wheel/completed-uncompressed.png?fit=max&auto=format&n=LAVdNoNpZYyOHLg8&q=85&s=90af270f7e24d2ea1cc8665c30a32d2e" data-path="images/wheel/completed-uncompressed.png" />
    </Frame>
  </Tab>
</Tabs>

## Walkthrough your first render

Okay, now that you've seen the phases, let's walk through your first render.

<Tabs>
  <Tab title="Step by Step">
    <Steps>
      <Step title="Decide what format you want to upload with">
        <Tip>
          [Here's a demo
          file](https://public-assets-renderjuice.s3.amazonaws.com/pottery.blend)
          to get you started.
        </Tip>

        Renderjuice accepts both `.zip` and `.blend` files. For your first render,
        we recommend using a simple `.blend` file.
      </Step>

      <Step title="Do a quick preparation check">
        Before uploading, quickly confirm that:

        * required assets are packed or included
        * required caches are baked and included
        * required add-ons are uploaded separately first

        Helpful guides:

        * [Preparing your Project](/docs/renderjuice-101/preparing-blender-file)
        * [Blend Project Packer](https://www.renderjuice.com/blender/renderjuice-extensions/blend-project-packer) for creating a portable project zip before upload
        * [Using add-ons and extensions with Renderjuice](/docs/rendering-with-blender/addons)
        * [Why It Works Locally But Not On Renderjuice](/docs/renderjuice-101/works-locally-not-on-renderjuice)
      </Step>

      <Step title="Drag and drop your file">
        Start off by dragging and dropping your file into our uploader.
      </Step>

      <Step title="Wait for validation to complete">
        During this step, Renderjuice is going through your file and extracting
        metadata like Blender version, render settings, and missing files.
      </Step>

      <Step title="(Optional) Fix any missing files">
        The UI will notify you of any missing files or dependencies when
        validation completes. You may fix these or proceed if you're confident
        the render doesn't need these.
      </Step>

      <Step title="Tweak and modify">
        The UI will notify you of any missing files or dependencies when
        validation completes. Please fix these or proceed if you're confident
        the render doesn't need these.
      </Step>

      <Step title="Input the frames you want to render">
        Input the frame ranges you'd like to render. Comma separated ranges like
        `1-100, 200-300` are supported.
      </Step>

      <Step title="Watch it go!">
        You can monitor the progress of your render in real-time and download
        frames as they finish.
      </Step>
    </Steps>
  </Tab>
</Tabs>

{/*

<CardGroup>

<Card
title="1. Preparing your Blender Project"
icon="square-code"
href="/docs/api-playground/configuration"
>
Implement your OpenAPI spec and enable API user interaction.
</Card>

<Card
title="Uploading Files"
icon="square-code"
href="/docs/api-playground/configuration"
>
Implement your OpenAPI spec and enable API user interaction.
</Card>

<Card title="Uploading Files" icon="paintbrush" href="/docs/settings/global">
Add flair to your docs with personalized branding.
</Card>
<Card
title="Validation"
icon="chart-mixed"
href="/docs/analytics/supported-integrations"
>
Draw insights from user interactions with your documentation.
</Card>

<Card
title="Fixing Links & Dependencies"
icon="square-code"
href="/docs/api-playground/configuration"
>
Implement your OpenAPI spec and enable API user interaction.
</Card>
<Card
title="Customizing the Render"
icon="square-code"
href="/docs/api-playground/configuration"
>
Implement your OpenAPI spec and enable API user interaction.
</Card>

<Card
title="Host on a Custom Domain"
icon="browser"
href="/docs/settings/custom-domain/subdomain"
>
Keep your docs on your own website's subdomain.
</Card>

</CardGroup>

*/}
