Status: 🔫 Beta
While we are continuously working to enhance this functionality, some limitations or unexpected behavior may occur. However, we have successfully tested it with the following addons:- PSA
- Flip Fluid
- Shakify
- Nishita Sky
- Geo Scatter
- Noise Nodes
Instructions
To use add-ons with Renderjuice, you need to zip your add-on folders and upload them to your Renderjuice account.1
Prepare Your Add-on
Before uploading your add-on, you need to make sure it’s working as expected locally.
- Ensure your add-on is working as expected locally, by rendering a frame. Set the sample size to lower values to speed this up.
- Once you’ve confirmed it’s working, zip the add-on folder and prepare to upload.
- Ensure that you don’t change the folder name when zipping it.
- Windows
- MacOS
- Linux
To show hidden files in File Explorer:Then navigate to:
2
Upload Your Add-on to Renderjuice
After you’ve zipped your add-on, you can upload it to Renderjuice.

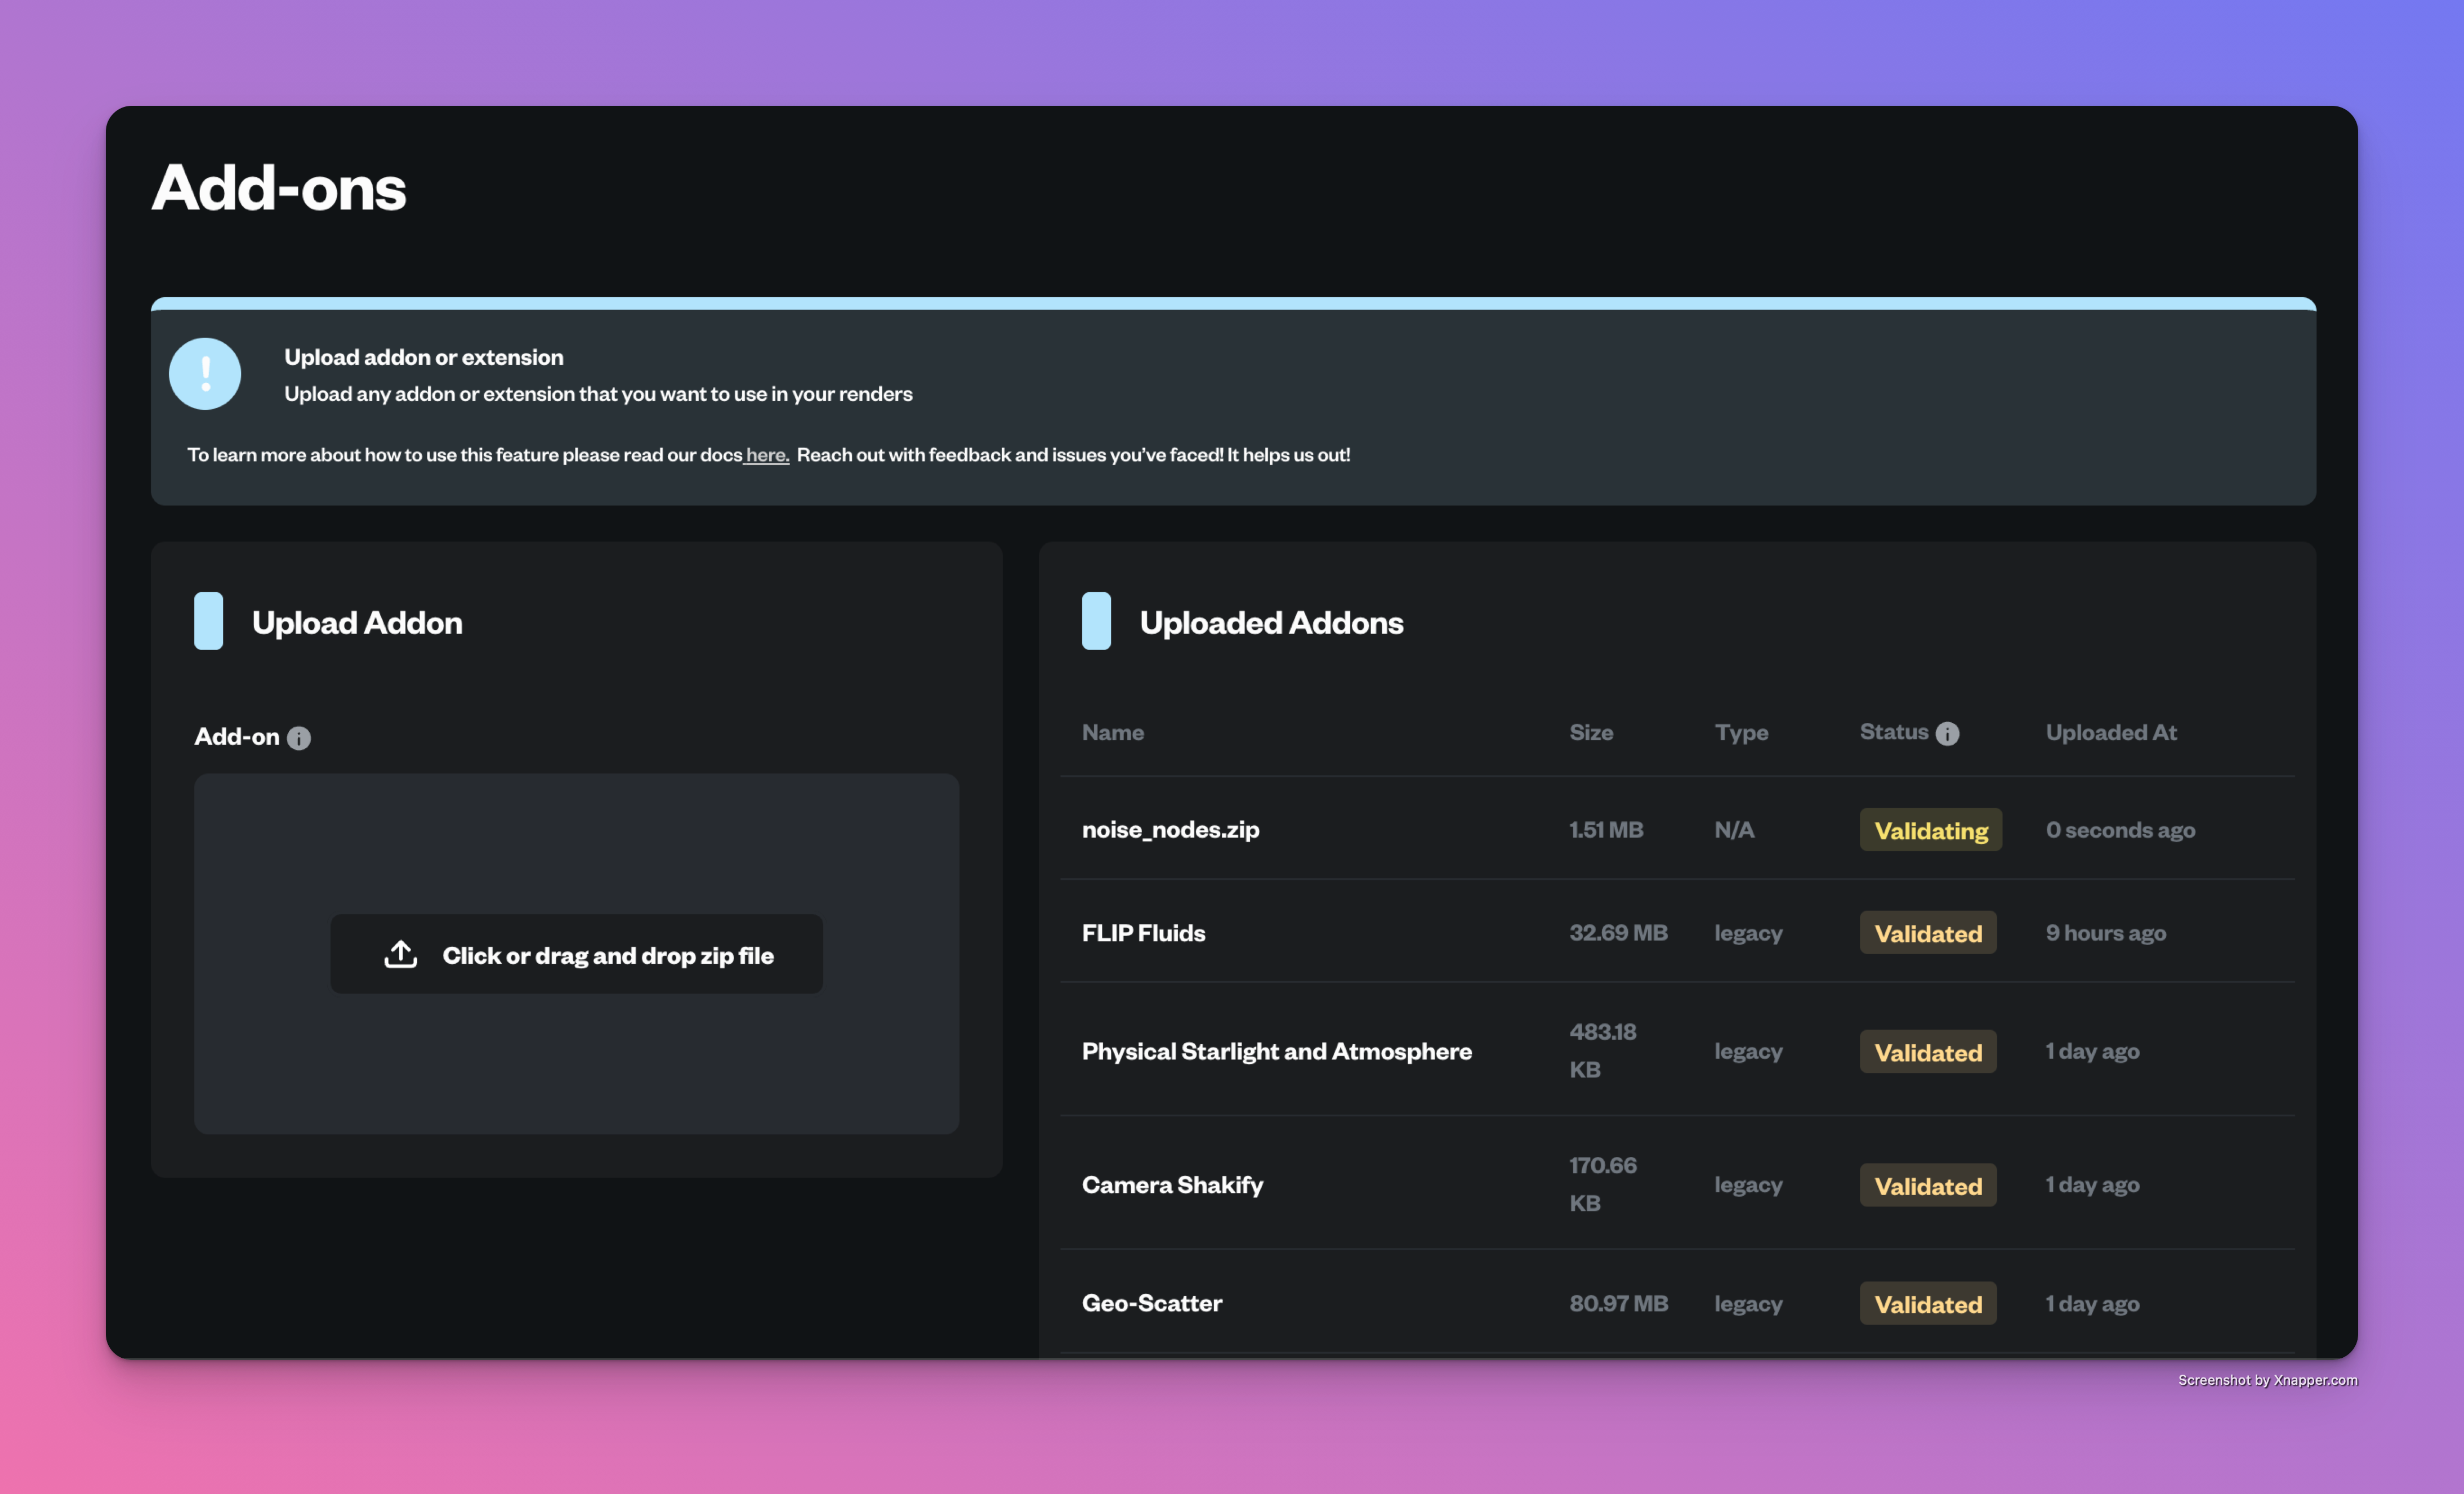
- Login to app.renderjuice.com and navigate to the Add-ons page.
- Drag and drop or click Upload to upload the addon zip file.

Add-ons Page
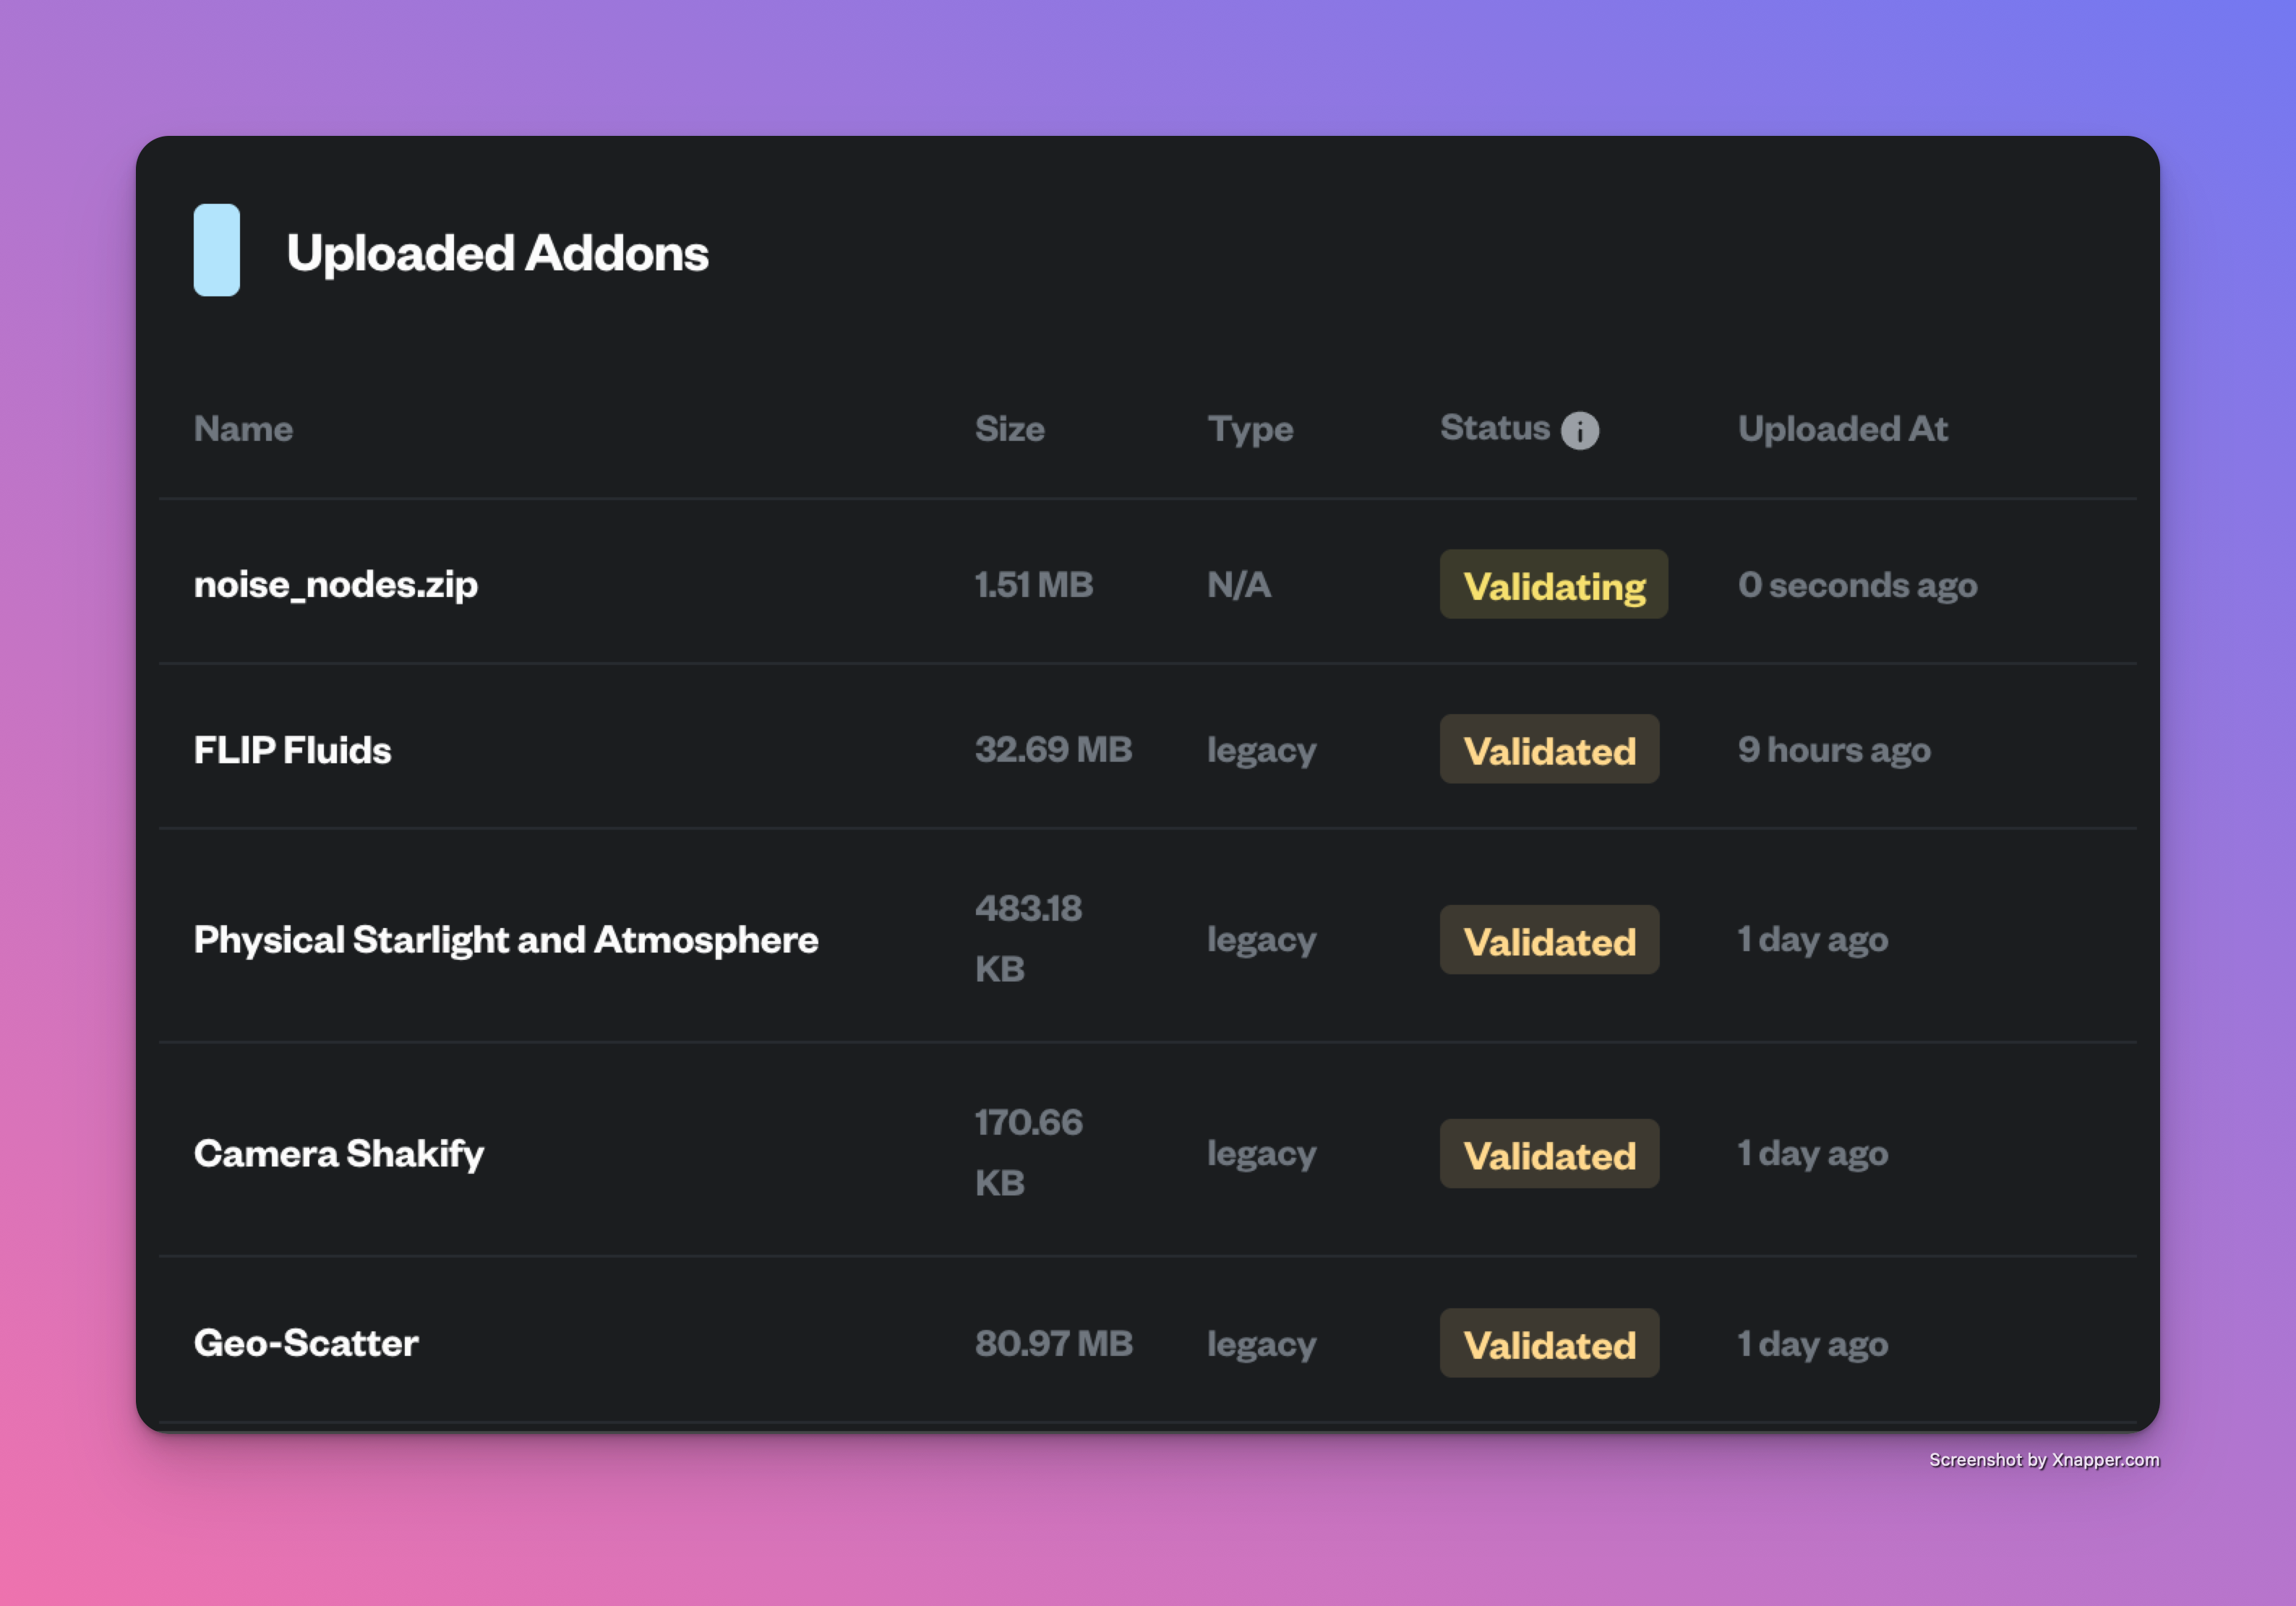
- Once uploaded, you can see your add-on in the list of uploaded add-ons in the Add-ons page. Wait for it to finish validating before using it in a render job.

Uploaded Add-ons
3
Use uploaded Add-on in a Render Job
Great job! Now you can use your add-on in a render job.

- Navigate to the Home page.
- Upload your blend file or choose one from recently uploaded.
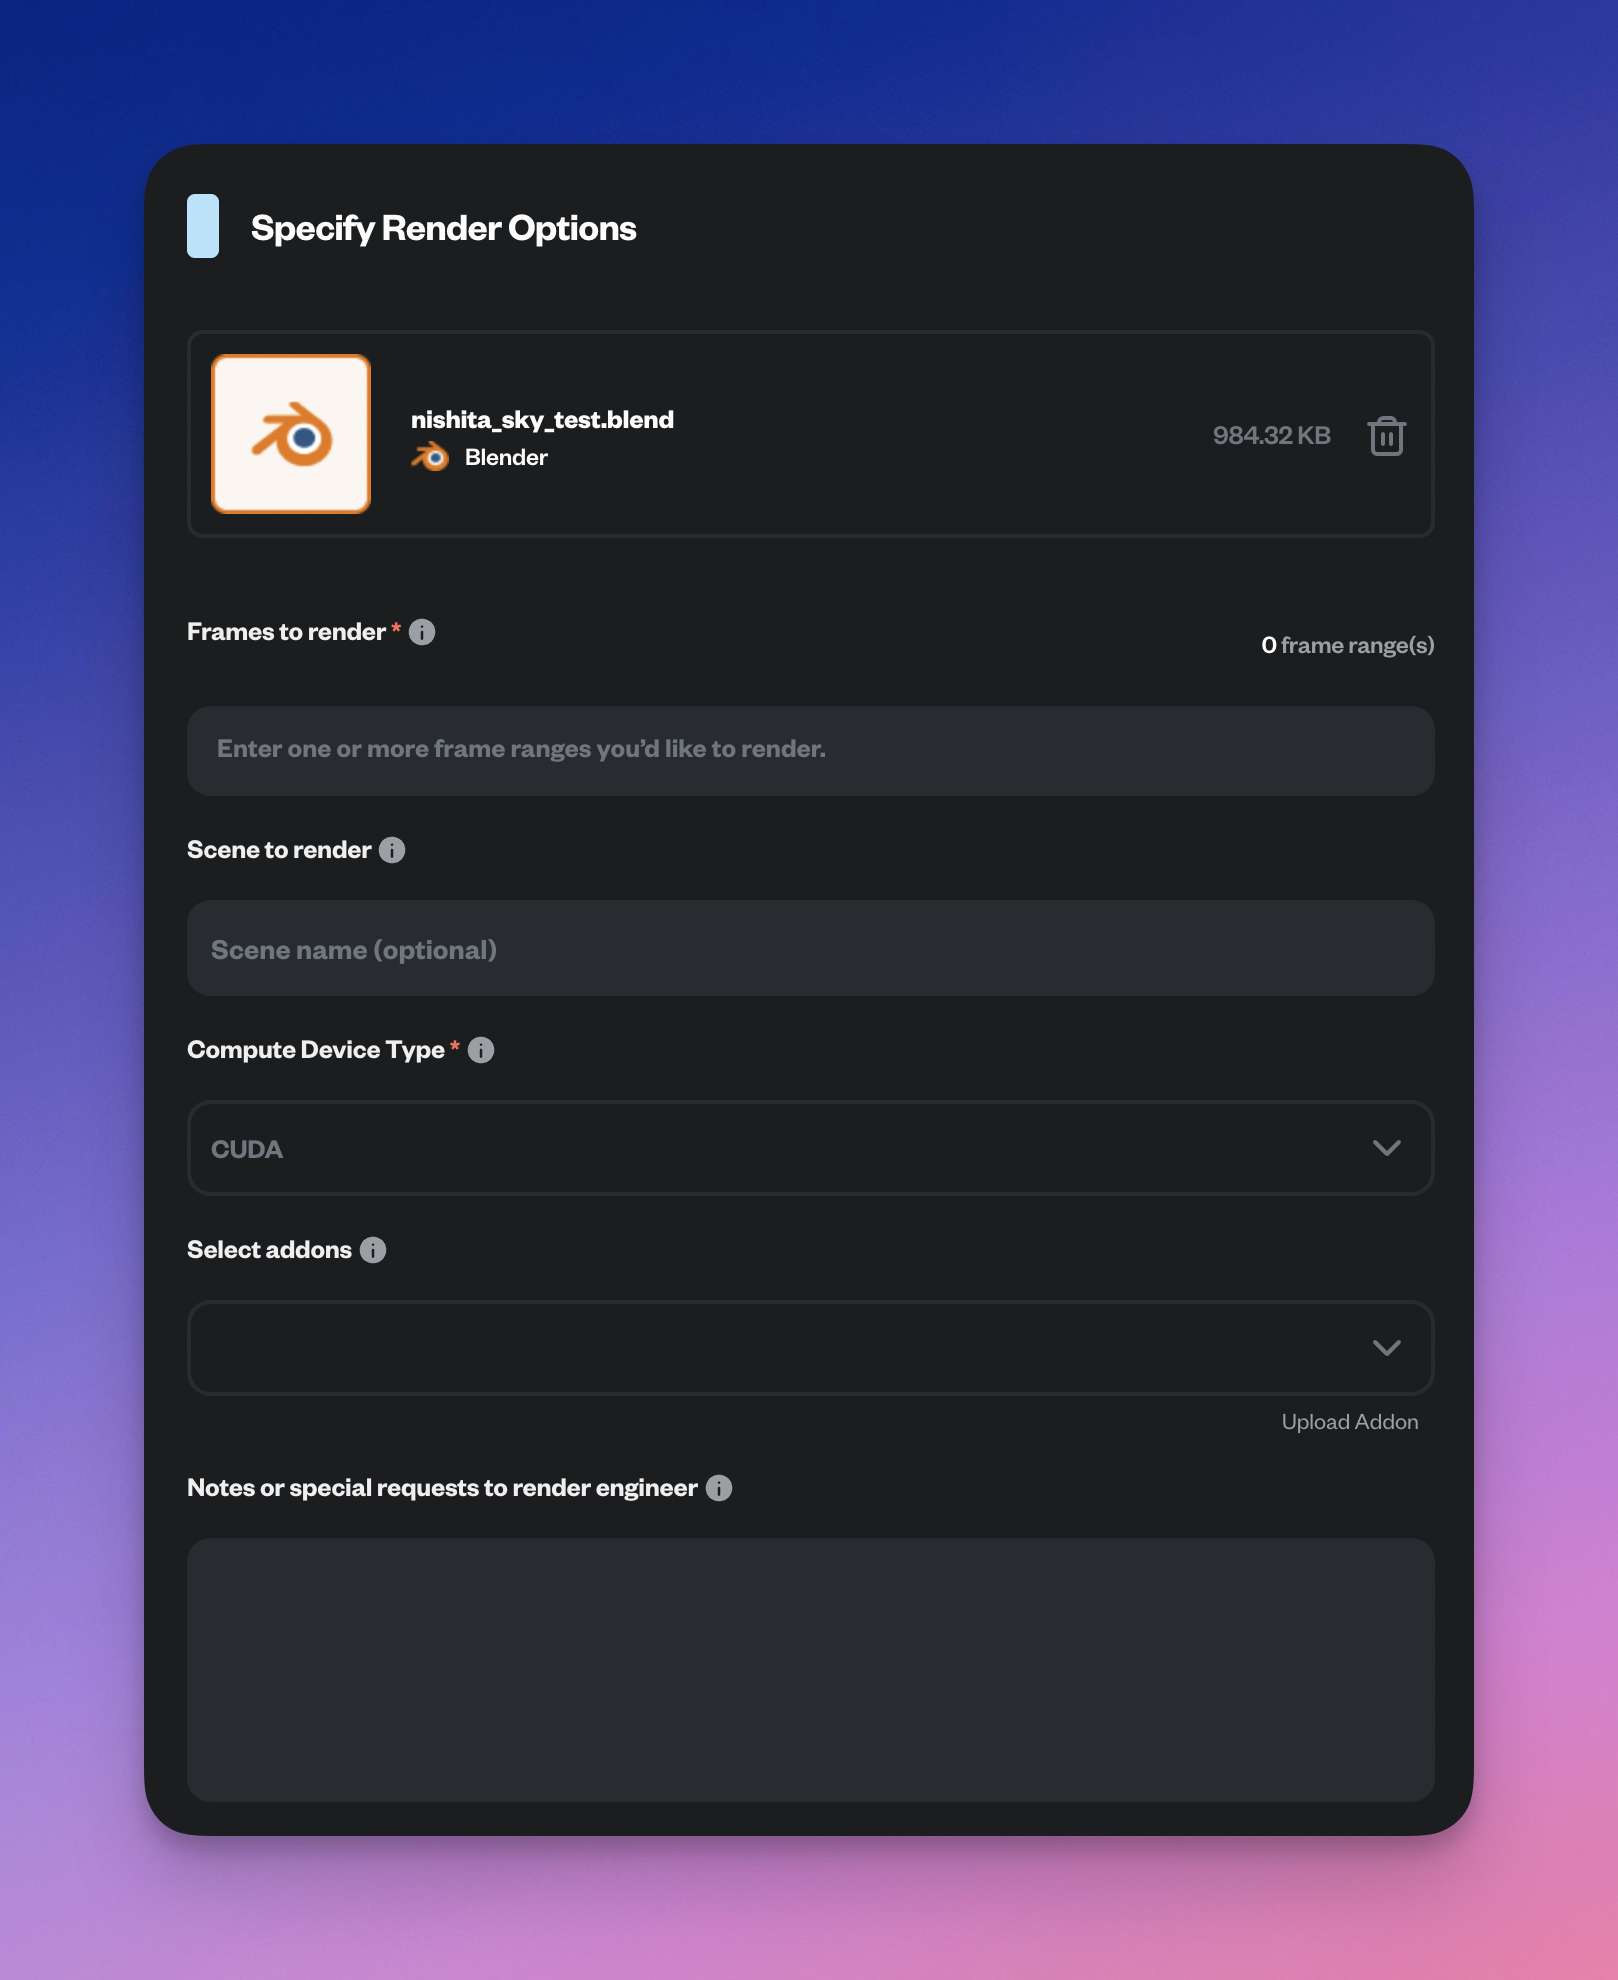
- It will redirect you to the Configure Render page to set your render parameters.

Configure Render Page
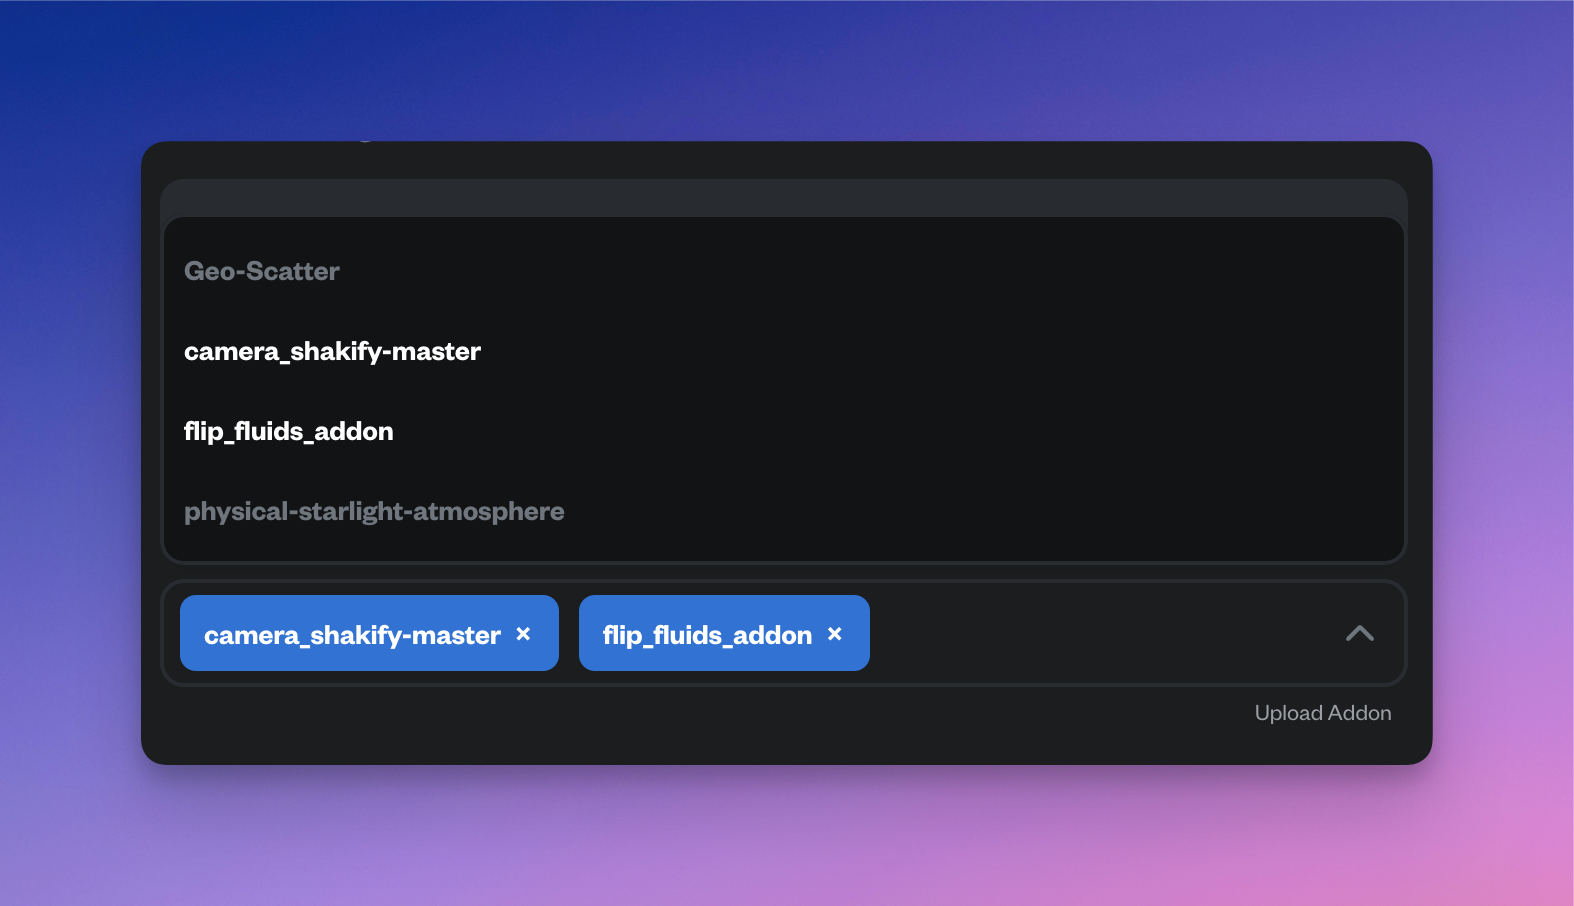
- In the Add-ons section, you can select the add-on you uploaded to use.

Select Add-ons
- Click Continue to validate your scene and start your render 🎉.
Important Notes
- Monitor the render to ensure your add-on is working as expected, if any issue detected cancel the render, to avoid wasting credits.
- For some addons e.g Flip Fluid, you need to bake your simulation locally and put the cache in the same zip as your
.blendfile. For more details see the Fluid Simulations guide.

