Installing an add-on while you build a scene does not always mean Blender needs
it when rendering the saved file.
Not needed during rendering: Modeling, UV, and workflow tools often create
ordinary Blender meshes, materials, modifiers, keyframes, or constraints.
Blender saves that result in the .blend file.
Needed during rendering: Blender still needs an add-on when the scene contains
one of its custom node types, render engines, or other data that only its code
can evaluate. This answer also covers add-ons that are only needed for some
features. The catalog says Yes whenever a documented workflow can affect
the rendered result.
External files are a separate concern. A scene may not need the add-on but can
still need image textures, linked libraries, fonts, asset files, or simulation
caches. Pack those files with the project.The Blender add-ons and extensions guide
gives a reviewed answer for each listed add-on. Treat it as a guide to the
documented workflows. Its conservative Yes means you should include the
add-on unless you have tested that your particular scene no longer needs it.
If you use Blend Project Packer,
include the add-ons your scene needs and upload the packed project. Renderjuice
finds the included add-ons and selects them on Configure Render.
See Include add-ons with a packed project
below. You can skip the manual upload steps in that case.
Some add-ons need extra setup because they depend on caches, asset libraries,
native binaries, or files outside the .blend. The
Blender extension catalog
links each render-time answer to publisher documentation or inspected public
code and states when the evidence cannot confirm an answer.
To use an add-on with Renderjuice, zip the installed add-on folder and upload it
to your Renderjuice account.
1
Prepare Your Add-on
Before uploading your add-on, you need to make sure it’s working as expected locally.
Ensure your add-on is working as expected locally, by rendering a frame. Set the sample size to lower values to speed this up.
Once you’ve confirmed it’s working, zip the add-on folder from your local Blender add-ons or extensions directory and prepare to upload.
Ensure that you don’t change the folder name when zipping it.
Upload the add-on folder that is already installed on your machine. Do not upload the original installer or download archive from the add-on website unless that archive is the exact same folder already installed in Blender.
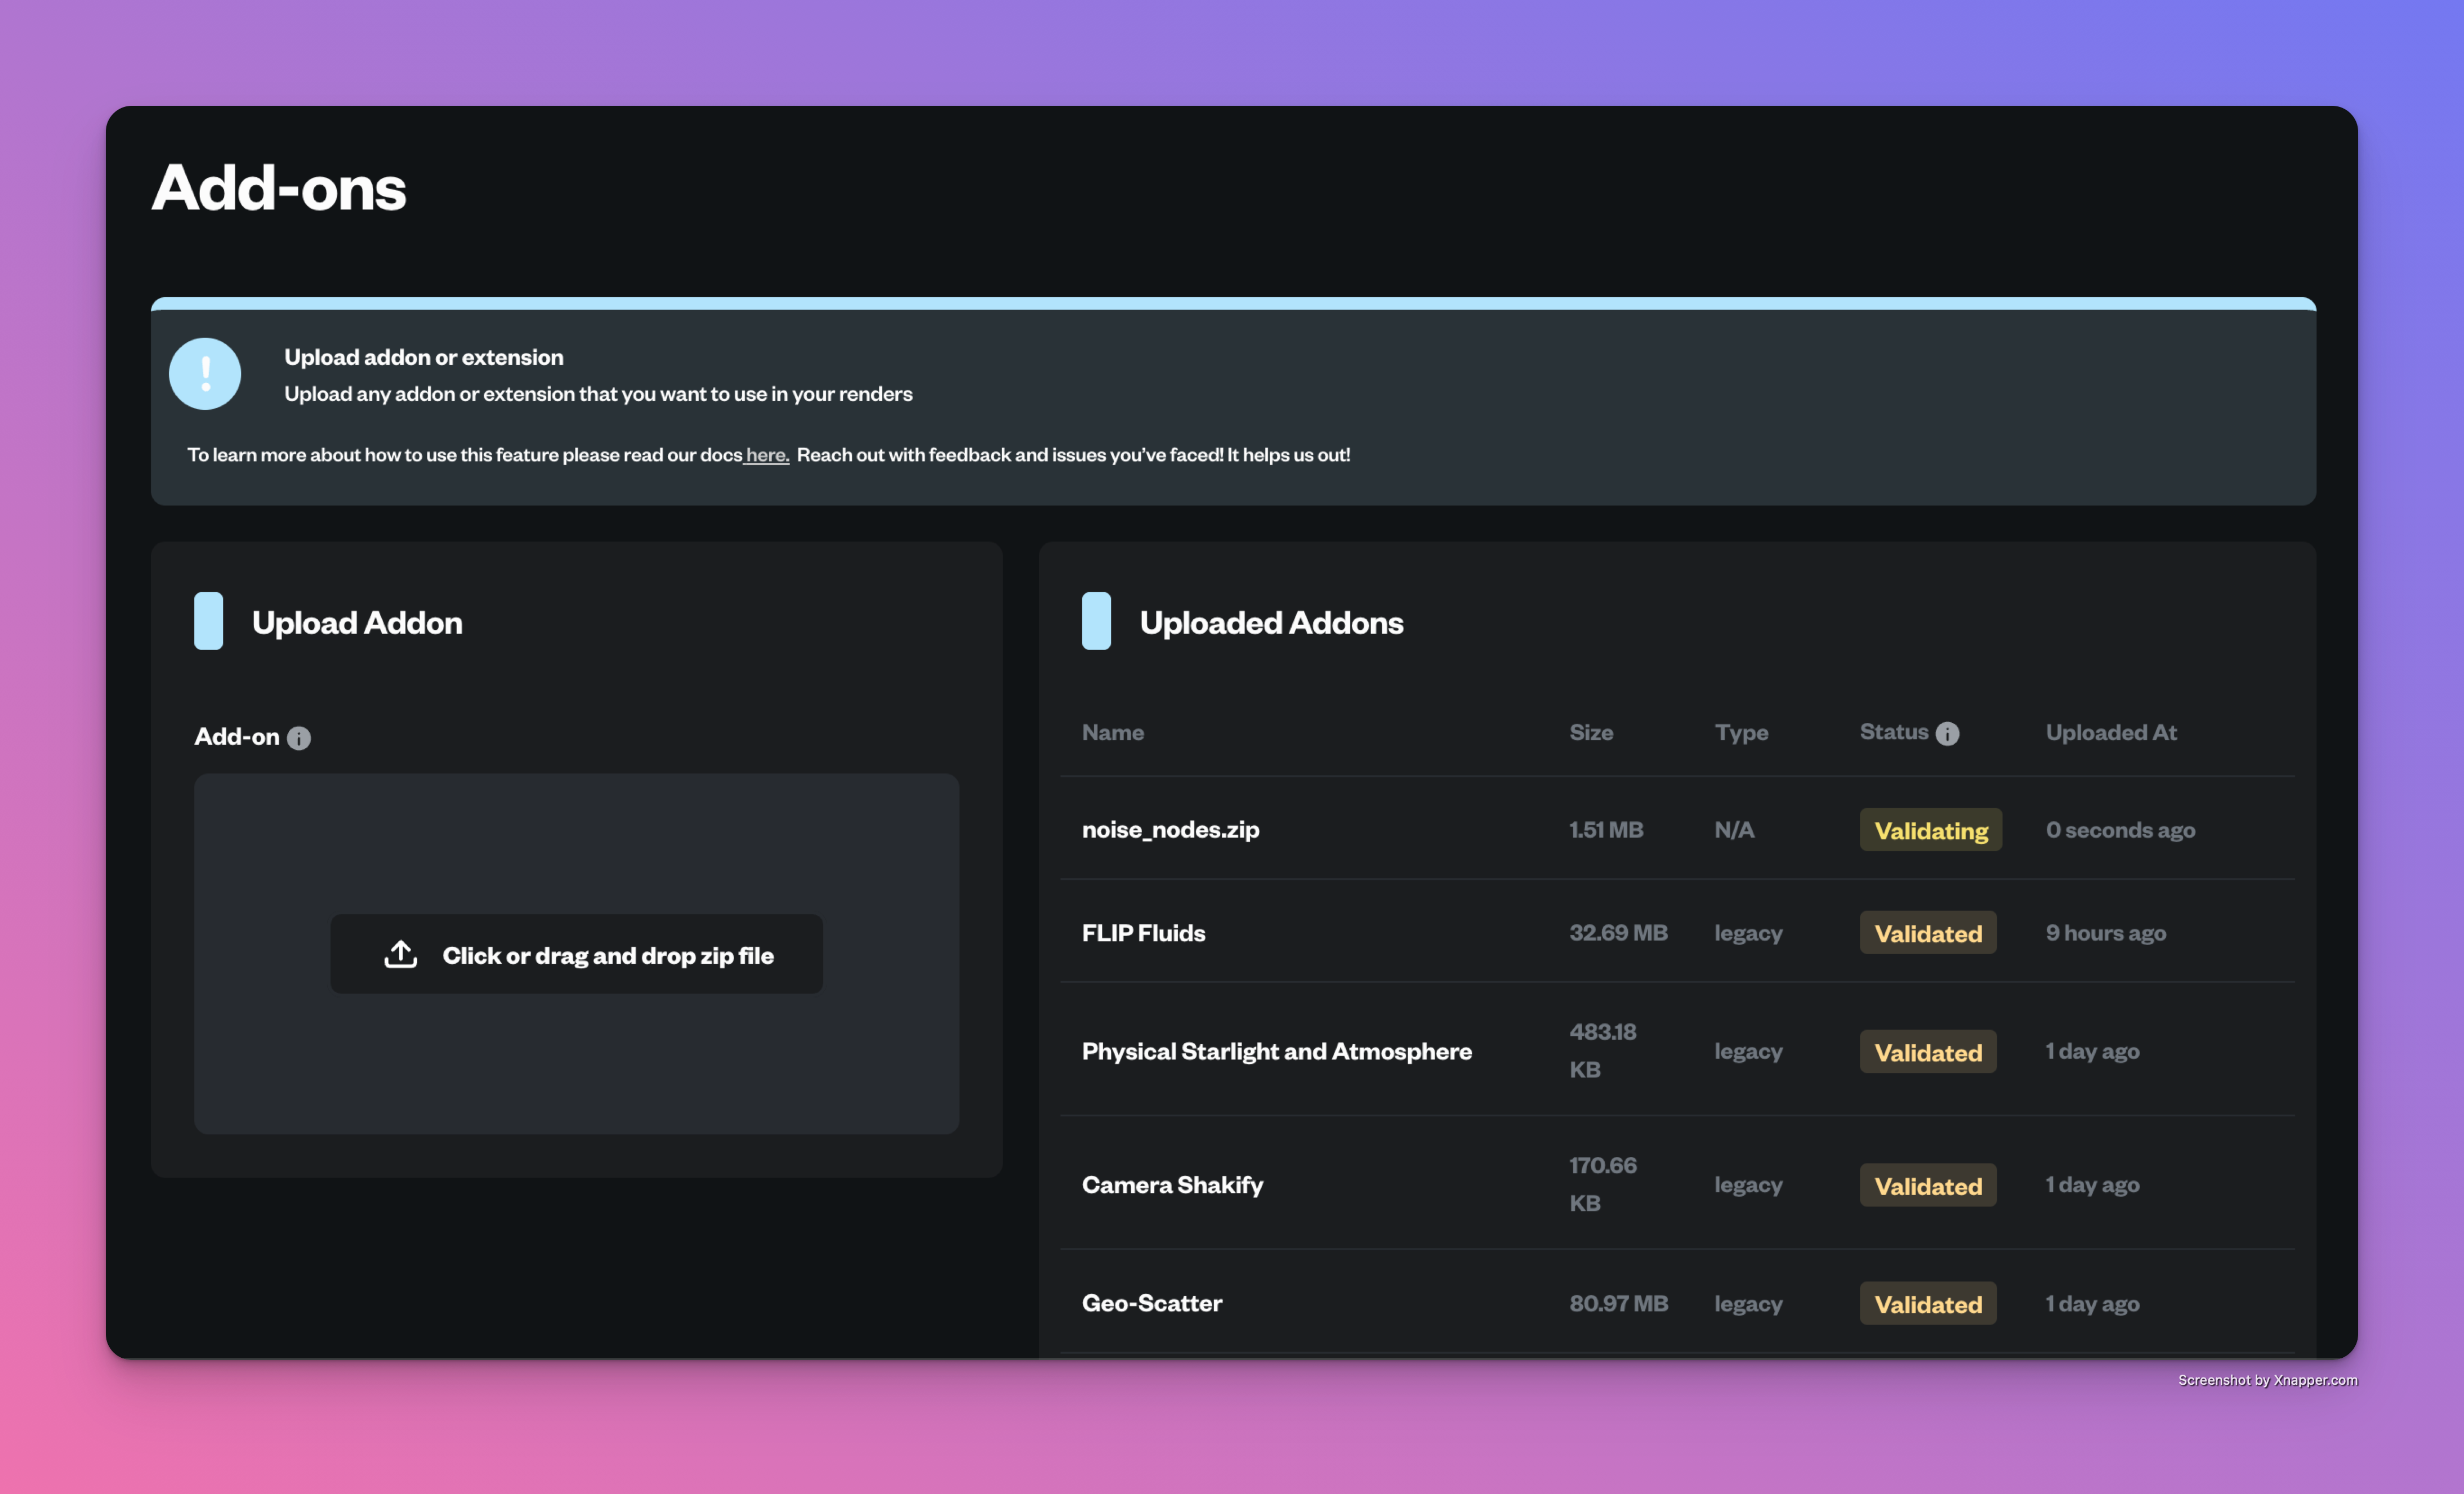
Drag and drop or click Upload to upload the addon zip file.
Add-ons Page
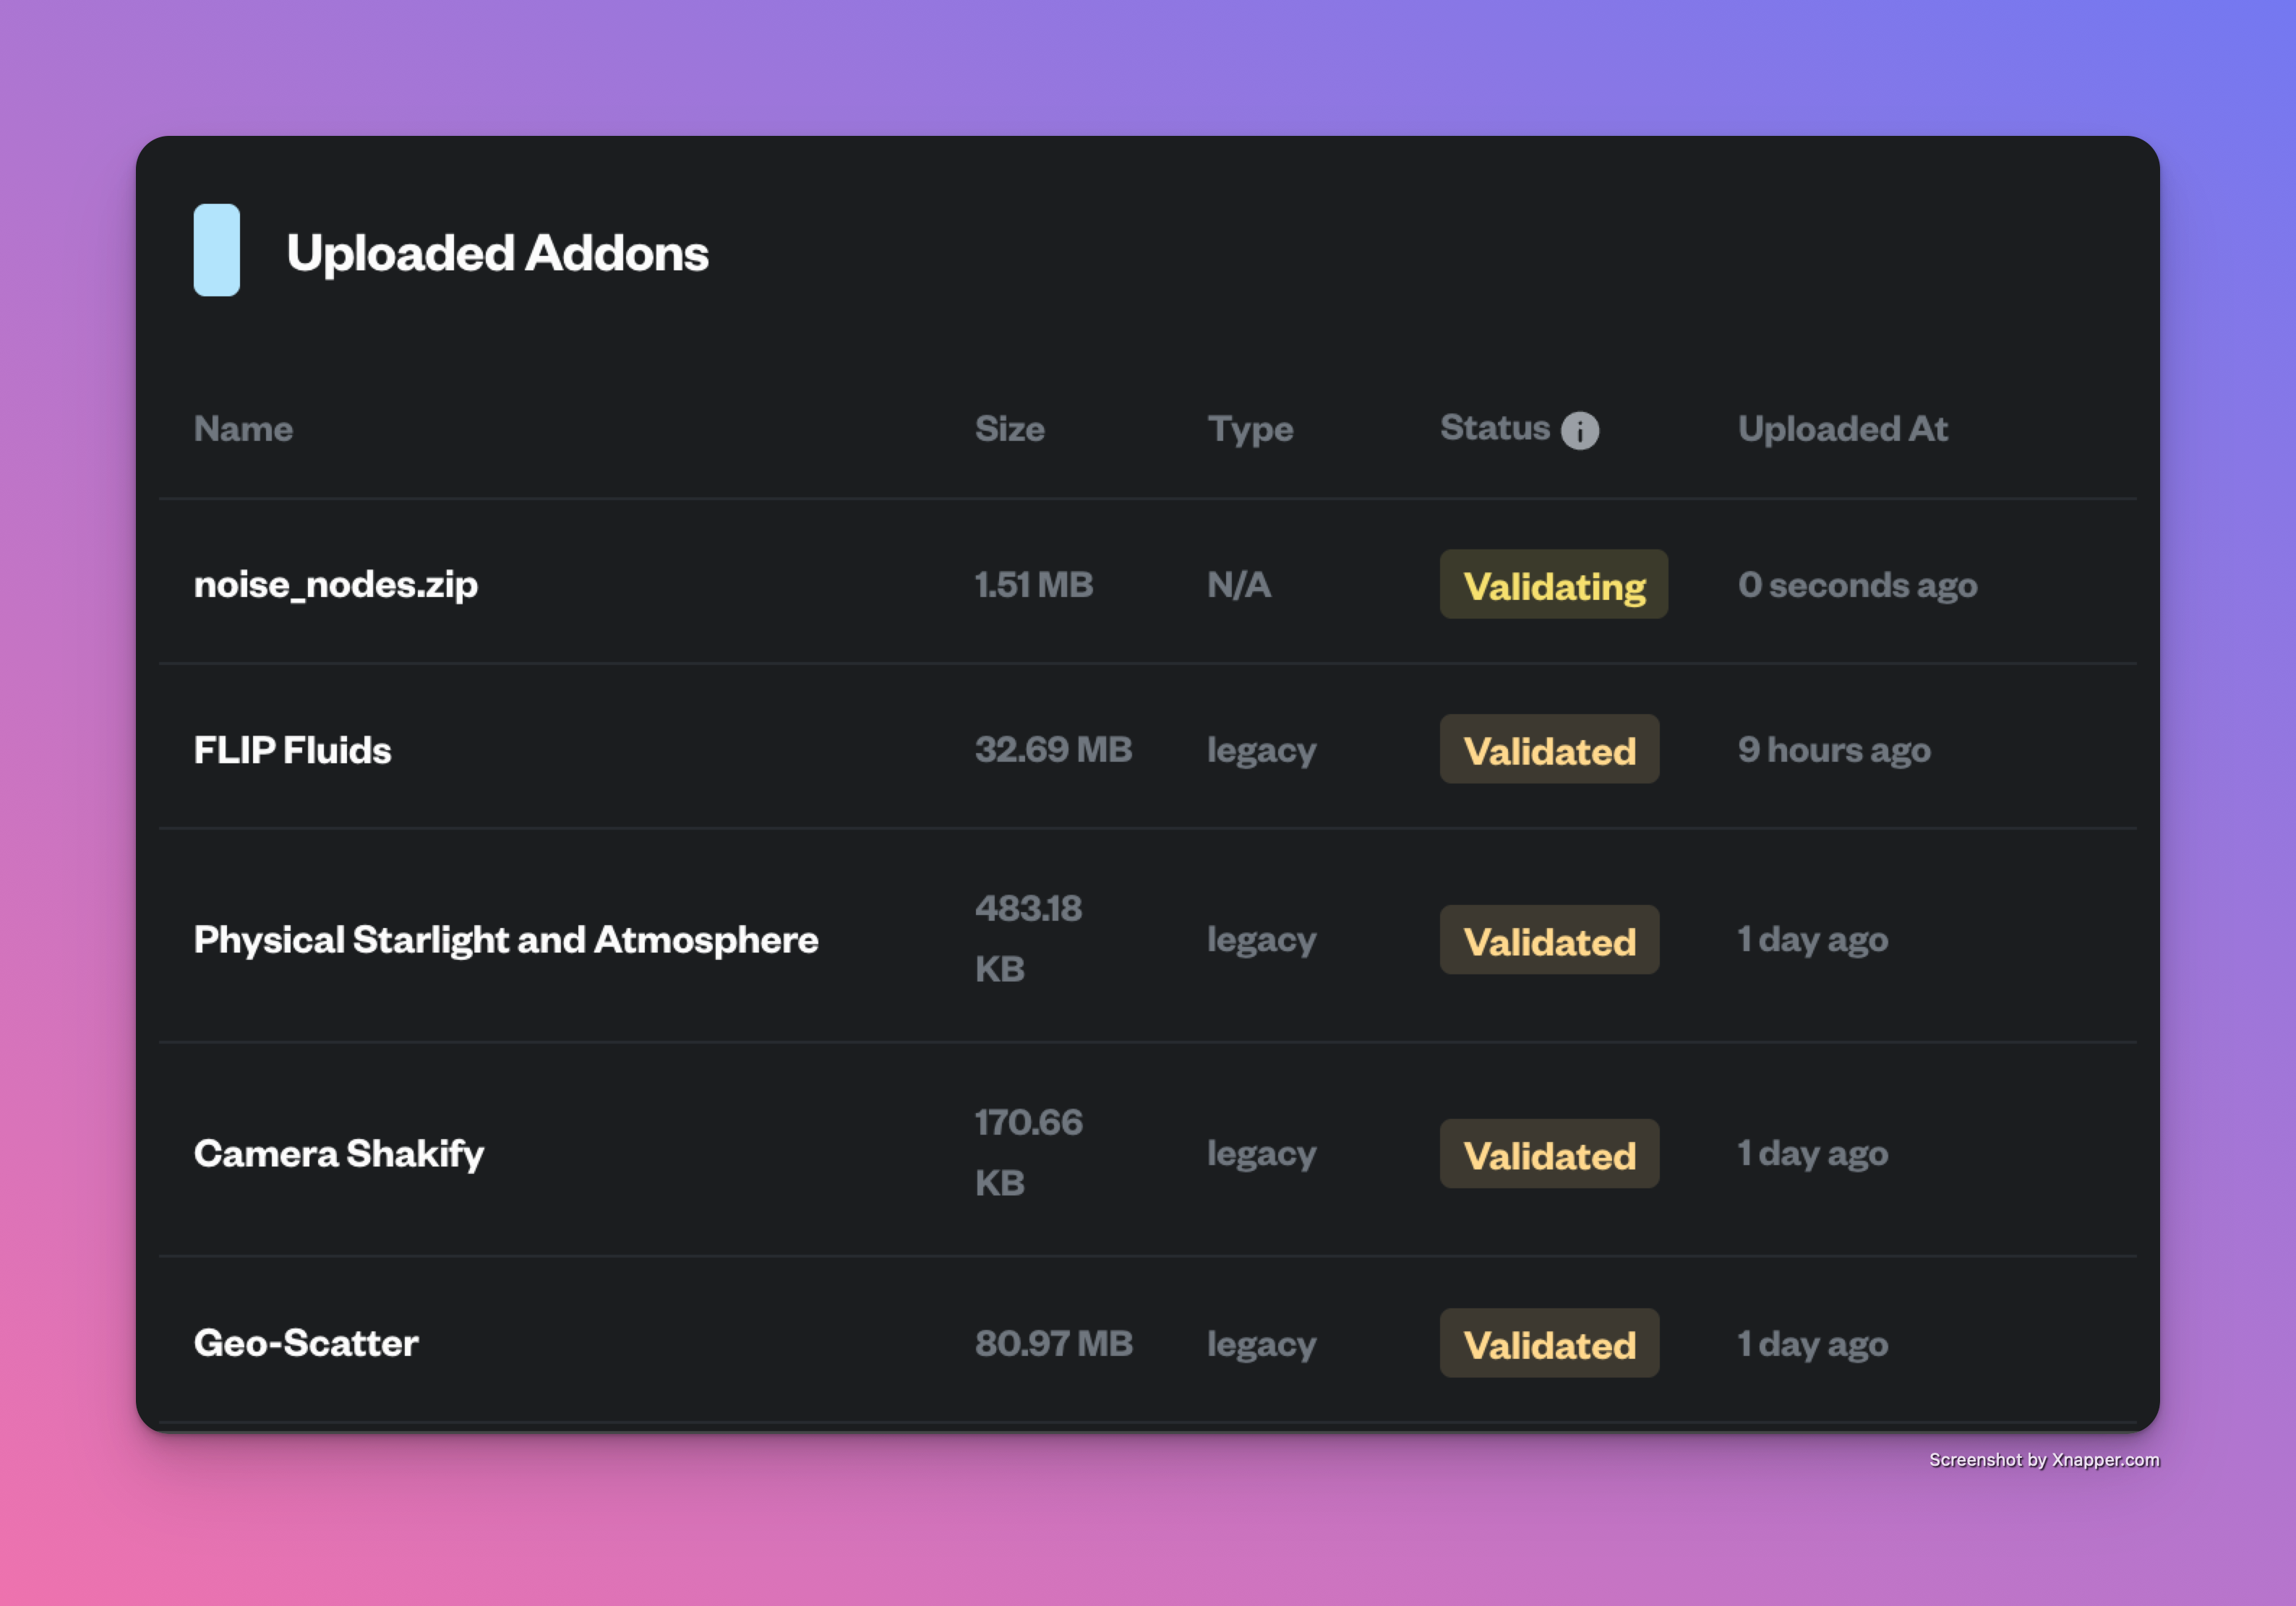
Once uploaded, you can see your add-on in the list of uploaded add-ons in the Add-ons page. Wait for it to finish validating before using it in a render job.
Uploaded Add-ons
3
Use uploaded Add-on in a Render Job
You can now select the validated add-on for a render job.
Navigate to the Home page.
Upload your blend file or choose one from recently uploaded.
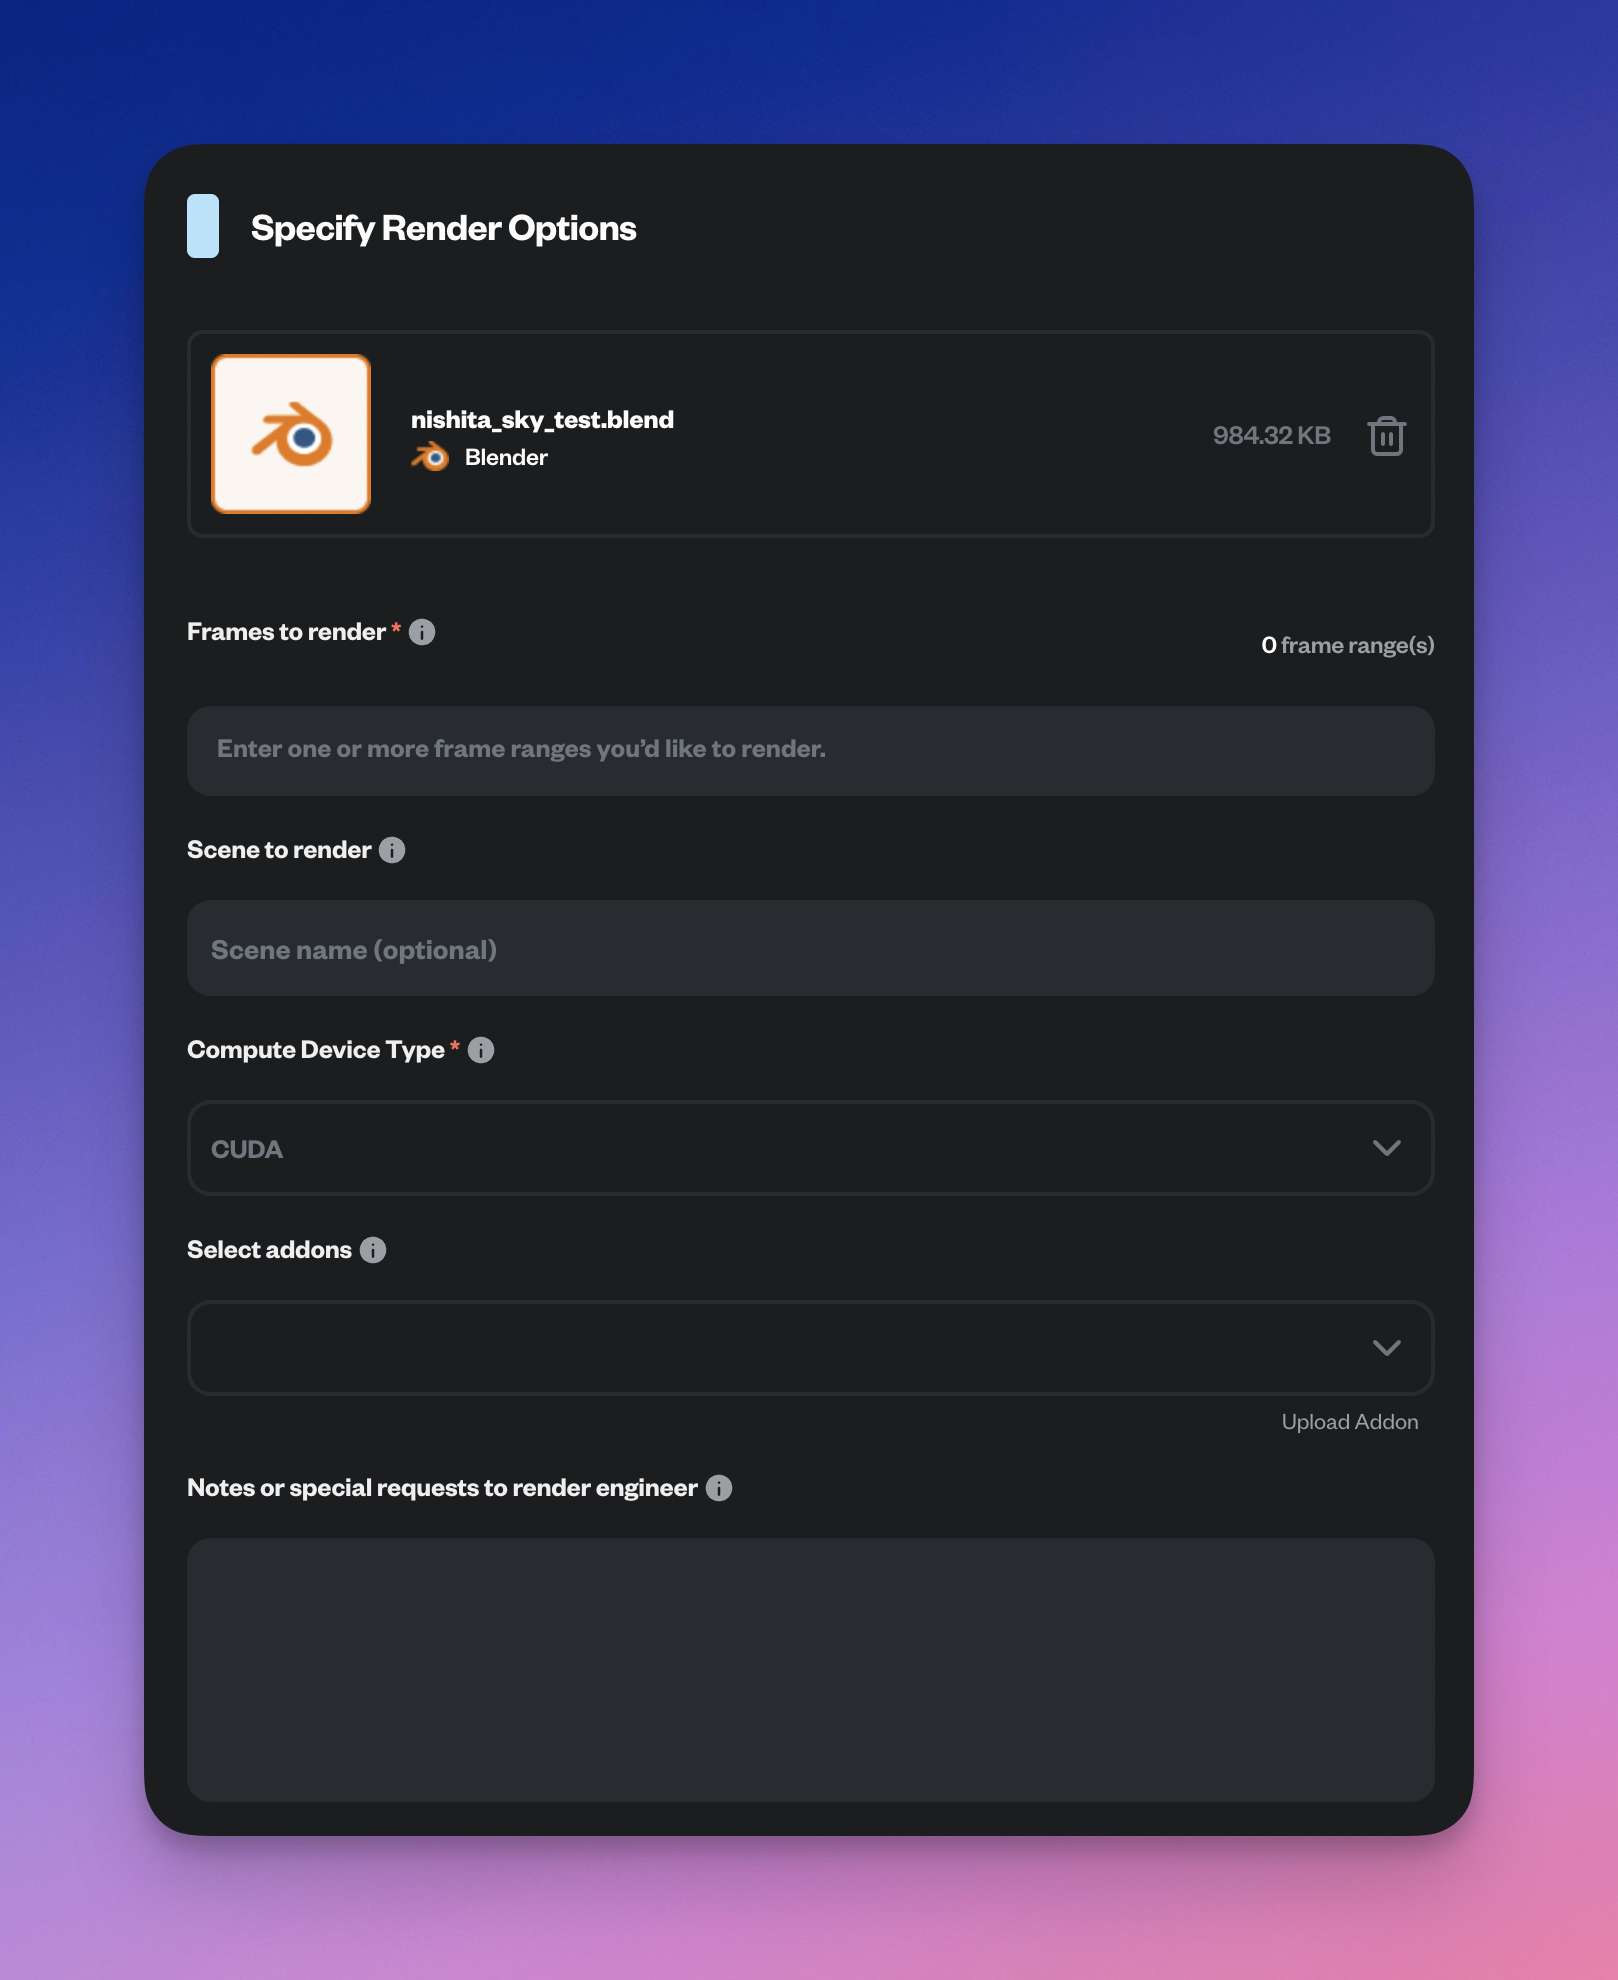
It will redirect you to the Configure Render page to set your render parameters.
Configure Render Page
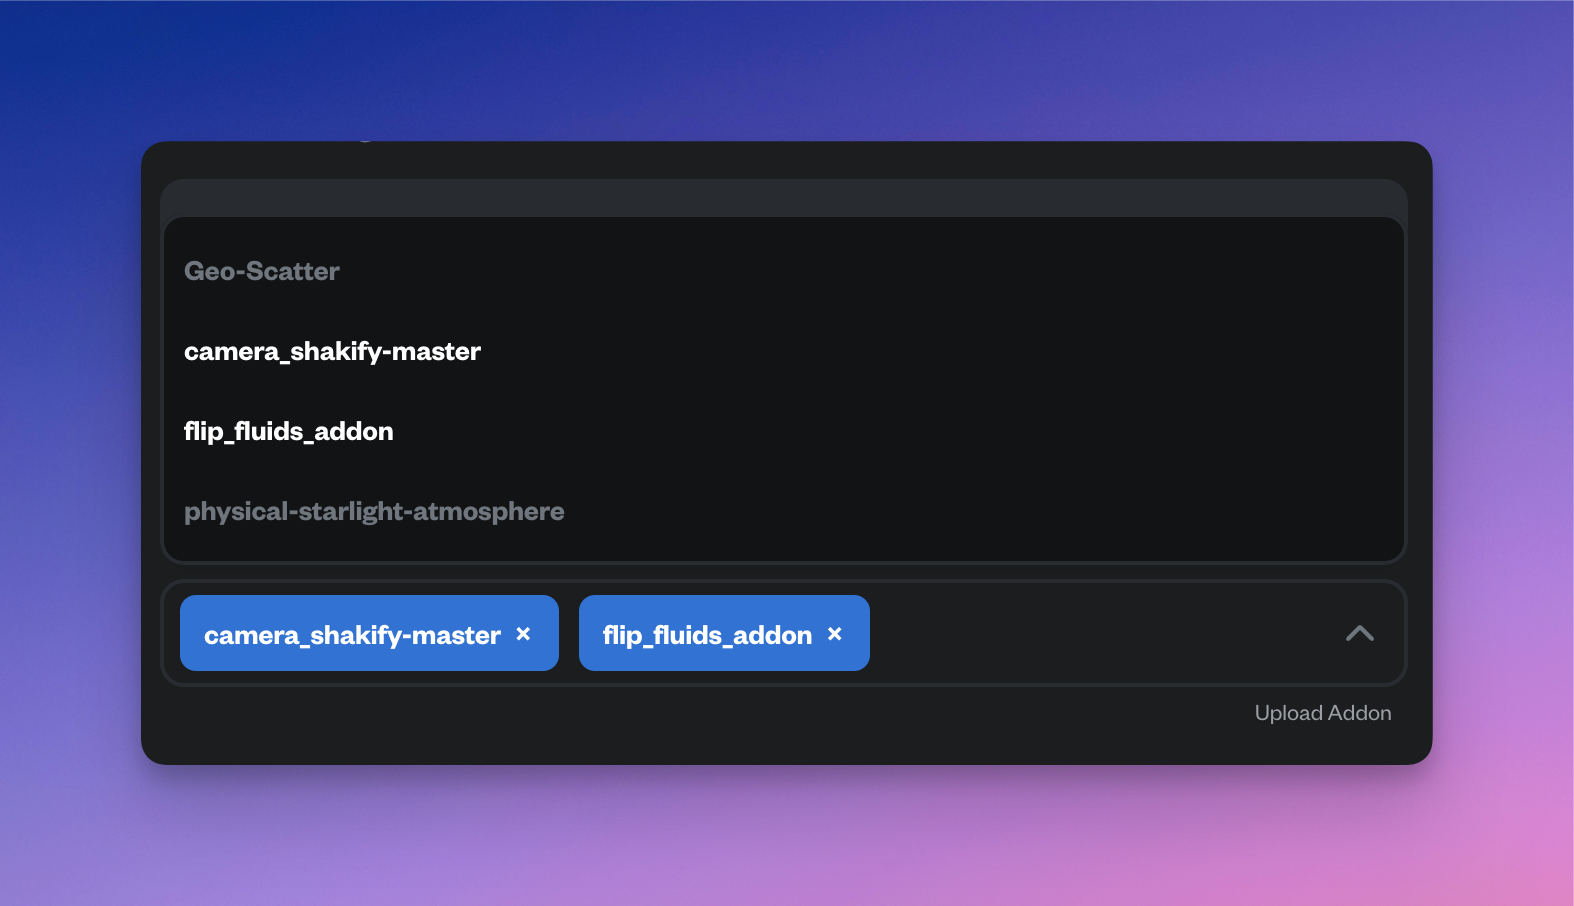
In the Add-ons section, you can select the add-on you uploaded to use.
If your addon isn’t listed, click the Upload Addon button to upload it.
This opens the Addons page in a new tab.
After uploading the addon and when it finishes validating, return to your render configuration tab, where the newly uploaded addon will now be selectable.
Select Add-ons
Click Continue to validate the scene and start the render.
Monitor the render to ensure your add-on is working as expected, if any issue detected cancel the render, to avoid wasting credits.
If you use
Blend Project Packer,
keep the add-ons your scene needs selected when you build the portable package.
When you upload the generated project zip, Renderjuice finds those add-ons and
selects them on Configure Render.Review the list and remove anything the scene does not need. The remaining
add-ons are checked during validation, used for the render, and saved to your
workspace for future jobs. You do not need to upload them separately.
Monitor the first frames. Cancel the job if the add-on output differs from
your local test.
Simulation add-ons such as FLIP Fluids need a local bake and the resulting
cache in the same project zip as the .blend. See the
Fluid Simulations
guide.